Nooski, the safer, cleaner solution

Setting the NOOSKI Pro Trap

Arming the NOOSKI Pro Trap

Step 1

Separate the clear housing from the safety tunnel.

Step 2

Place bait in the clear housing, if there are mice present use the bait capsule to prevent bait steals. Peanut butter, chocolate, nuts and seeds are recommended. Do not use pet food, fish or meat.

Step 3

Press the firing bolt in with your thumb and set the trigger.

Step 4

Insert the black cone into the clear trigger housing. Holding the trigger housing against your body, roll the ring up the cone and onto the housing, a firm action is required.
Insert the black cone into the clear trigger housing. Holding the trigger housing against your body, roll the ring up the cone and onto the housing, a firm action is required. Insert the black cone into the clear trigger housing. Holding the trigger housing against your body, roll the ring up the cone and onto the housing, a firm action is required.

Step 5

Ensure the clear housing is securely clipped into the safety tunnel.

Step 6

Your NOOSKI Pro trap is now ready for use on large rats and ground squirrels.
Your NOOSKI Pro trap 	is now ready for use on large rats and ground squirrels.

Placement of your NOOSKI pro trap

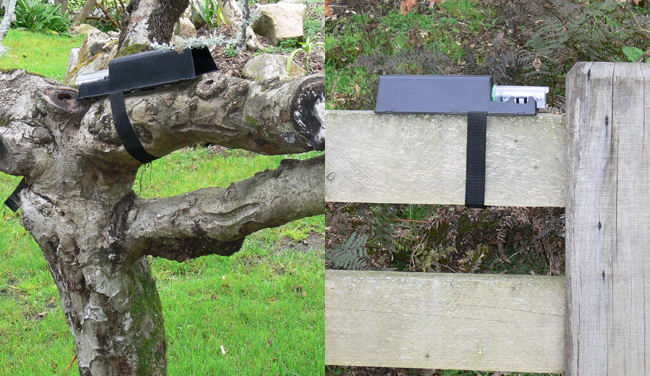
For best trapping results place your trap against a wall or solid object, rats are wary of traps in open spaces. Ensure to set your trap out of reach of pets. The NOOSKI Pro trap can also be easily set in trees and on fences.
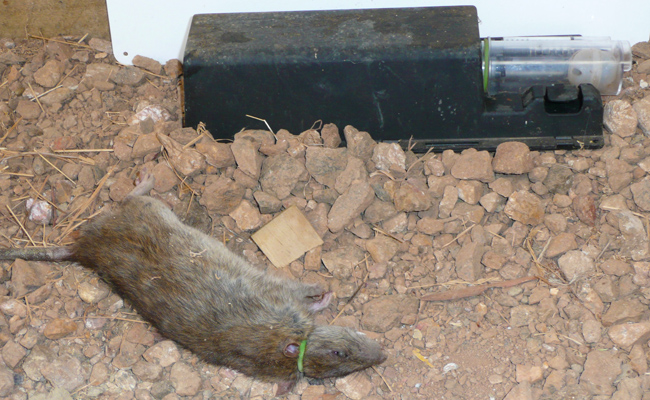
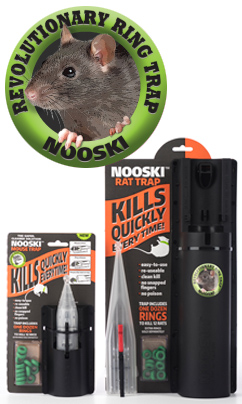
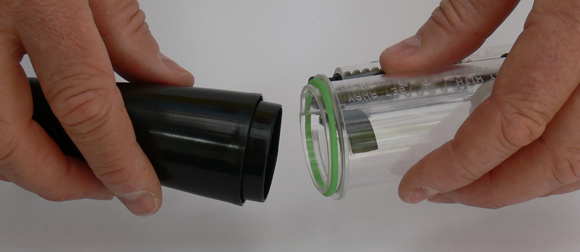
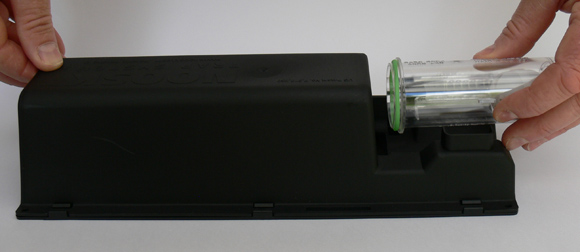
Place the trap against a wall and out of reach of pets.

Place the trap against a wall and out of reach of pets.